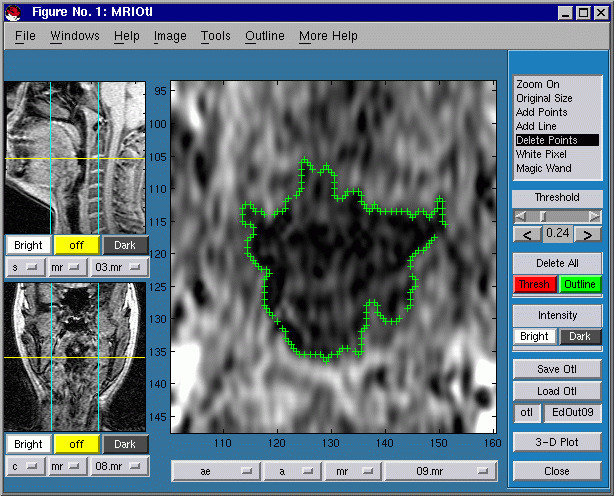
MRIOtl: step-by-step tutorial
1. Unpack the directories, and start matlab
unix:
gunzip CTMRedit.tar.gz images.tar.gz; tar xvf CTMRedit.tar; tar xvf images.tar; matlab;
DOS/Windows: pkunzip -d CTMRedit.zip; pkunzip -d images.zip; matlab;
2. Add the CTMRedit directory to your matlab path
>> cd CTMRedit; path(pwd, path);
This is important. CTMRedit will change the current directory, so you will not be able to count on simply running
commands in the current directory. If you want to remove files from your path after you have run the demo, you
can use the "rmpath" command.
3. Mex the geread_i function, so it runs faster.
>> mex geread_i.c;
(If you are using matlab 5.2, you can type "mcc geread_i.m" instead; the effect is pretty much the same).
4. Start CTMRedit, specifying the image directory
as argument
The argument syntax is actually quite flexible; you can specify as much
or as little of the path as you want, and CTMRedit will try to guess the
rest. If CTMRedit guesses wrong, you can usually steer it to the right
place using the popup menus.
>> cd ..
>> CTMRedit images/ae/a
The image window should come up looking something like this.
- If
some of the images are not found, you can usually load them by choosing
the right path from the popup windows (see the visual
guide).
- If the images are too bright, you can darken them by
pressing the "Dark" button next to the image you wish to darken.
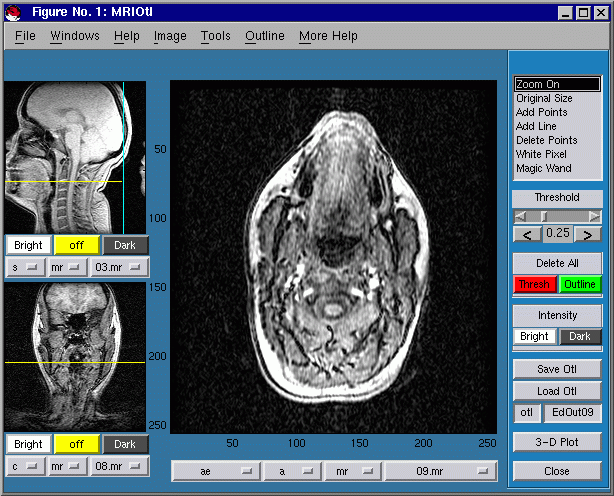
5. Zoom in on the throat region
If "Zoom On" is selected from the tools list (or checked in the Tools
menu), you can use the imagesm function to
zoom without aliasing:
- Zoom in with a left mouse click.
- Zoom out with a right
mouse click.
- Zoom to a region by selecting it (left press and drag).
- Move the window up, down, left, or right without zooming by shift-clicking on that side of the image.
- Zoom all the way out by double-clicking, or by choosing "Original Size" from the list of tools.
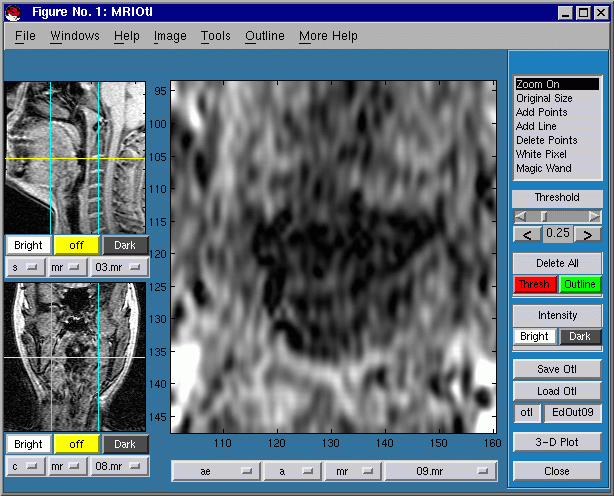
6. Load the Distribution
Outline
Press the "Loud Otl" button to load an outline
from the distributed outline file (which is located in the directory
images/ae/a/otl/).
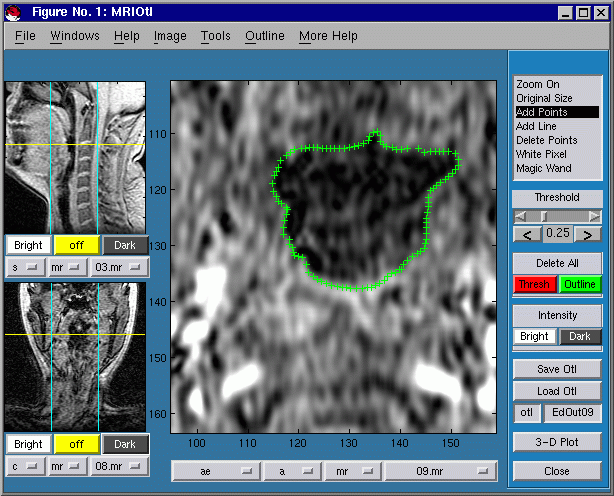
7. Clear the Distribution
Outline
Delete all points in the
displayed outline by pressing the "Delete All:
Outline" button. Note that any changes to an outline
(including "delete all points") do not affect the saved outline file
until you save it. Don't save your empty outline right now;
it's nice to leave the distribution outline where it is.
8. Create Your Own Outline using the Add Line
Tool
Choose "Add Line" from the list of editing tools.
Click to start the outline. Click again at each corner point.
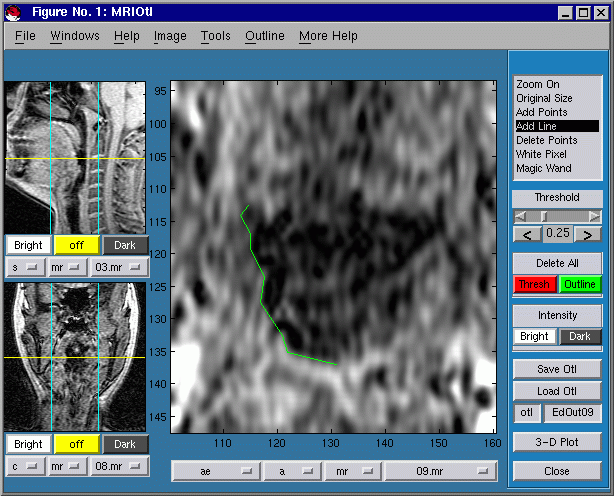
9. Complete the Add Line function by Double-Clicking.
When you're done with your outline, double-click
on the last point. All of the lines will be converted into points.
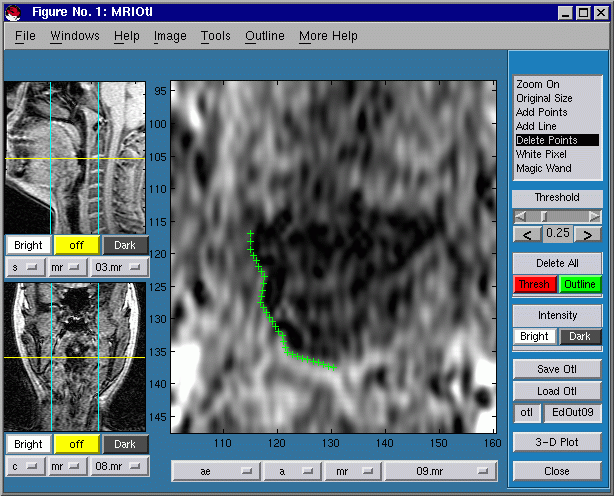
10. Save Your Outline in a File
- Place the cursor over the text "EdOut18," and click to get an
I-bar text cursor.
- Use normal typing commands (cursor, backspace,
etc.) to change this text so that it contains some other file name.
- If you type return, the filename will scroll off the top of the
text box; type backspace to get it back (if you leave the return
characters there, they will become part of the filename!!)
-
When you are done, press the "Save Otl" button to save your work.
- Test your save: press "Delete All: Outline"
to delete the outline points, then press "Load Outline" to bring them
back.
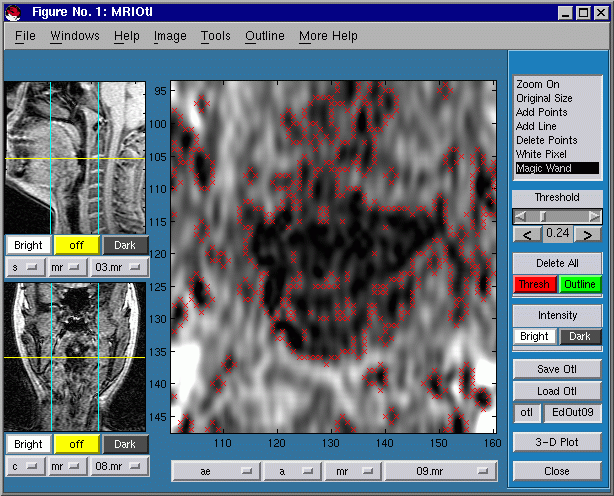
11. Adjust the Intensity Threshold
If you adjust the "Threshold" slider, CTMRedit will
use a red 'X' to mark every pixel at which the image intensity crosses
the selected threshold.
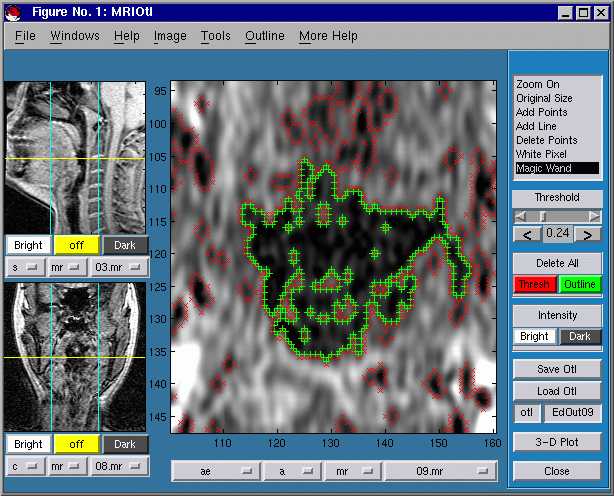
12. Use the Magic Wand Tool to Outline a Region
Once you have chosen a threshold value that you like, choose the
"Magic Wand" tool, and left click in any dark region. After some
computation, CTMRedit will outline the dark region with green
points.
13. Delete Unnecessary Points Using the Delete
Tool
-
Delete all of the red 'X' marks by pressing the "Delete All:
Thresh" button.
- Choose the
"Delete Points" tool. Press and drag the left mouse button (you will see a
purple deletion rectangle) to select the
points you wish to delete. Use this tool to delete all of the
extraneous points which were generated by the "Magic Wand" tool.
- Save your new outline in an otl file, possibly different from the one you chose previously.
